Working with the outline in Doc-to-Course: AI-assisted editing options
The course outline is the first stage of the Doc-to-Course conversion process. It defines the course structure, topics and its length. Everything that follows builds on it.
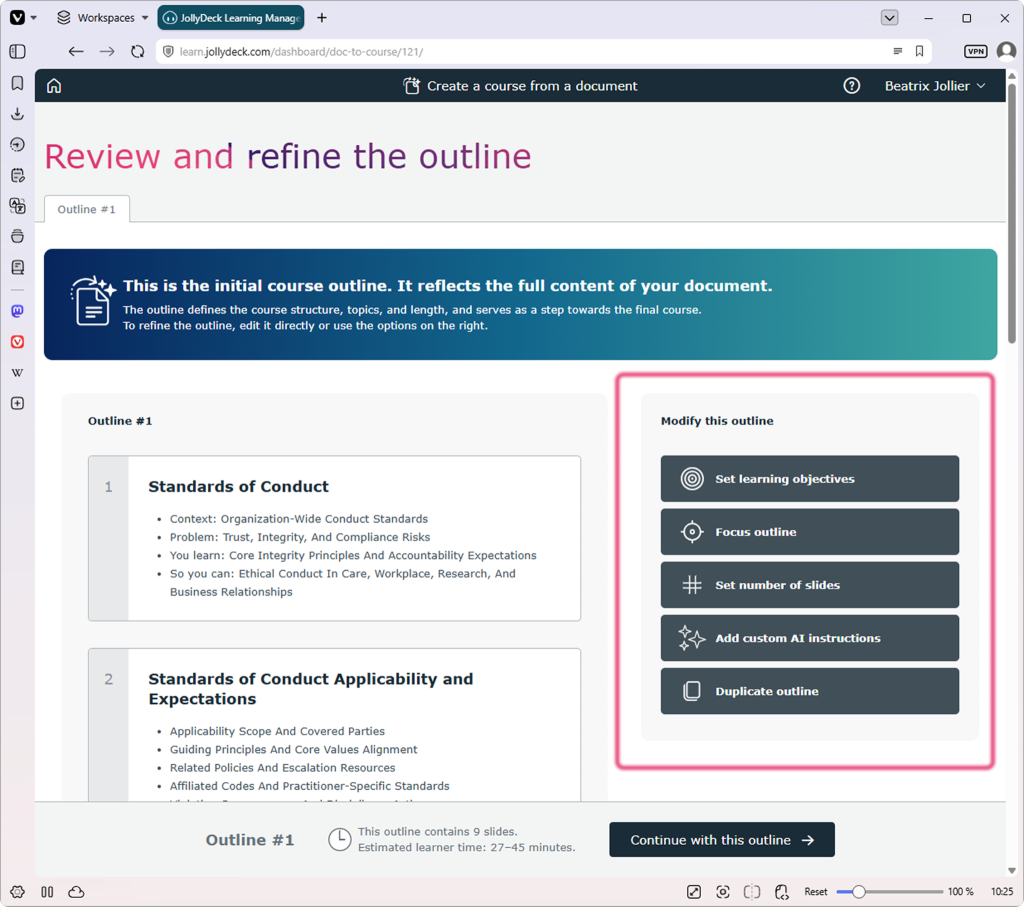
The outline gives you the opportunity to review and refine the structure before any slides are created. This is the point in the process where you have the most control over the final result.
Getting started
There are two ways to refine the outline:
- Manual editing means adjusting the slides yourself, directly in the outline — reordering, rewording, removing what you don’t need. Manual editing is useful when you want precise control over the content. It works well for shorter outlines or small, targeted changes.
- AI-assisted refinement uses the built-in AI options in the menu on the right. You tell the AI what you want — shorter, focused on specific objectives, a set number of slides — and it generates a new outline version based on your instructions. For longer outlines, this is usually the faster and more practical route.
You can combine both: use AI to get the structure roughly right, then fine-tune manually.
A note about versioning
Every time you use an AI refinement option, JollyDeck creates a new outline version. Previous versions remain unchanged.
This allows you to experiment with different structures, compare alternative approaches, or return to earlier versions at any time. The outline versions appear as tabs at the top of the screen.
Manual edits behave differently: they apply directly to the version you’re working on, without creating a new one. The only exception is version 1, which can’t be edited directly. It always stays intact as your reference point — so you can check any later version against the original, or restart your editing from where the conversion began.
Working with the AI
AI refinement options allow you to modify the outline without manually editing every slide.
Set learning objectives
This option allows you to narrow the course down to the objectives that matter to you.
- The AI first prepares a checklist of learning objectives based on the uploaded document.
- You untick the objectives you don’t want the course to cover.
- The AI generates a new outline version built around the objectives you kept.
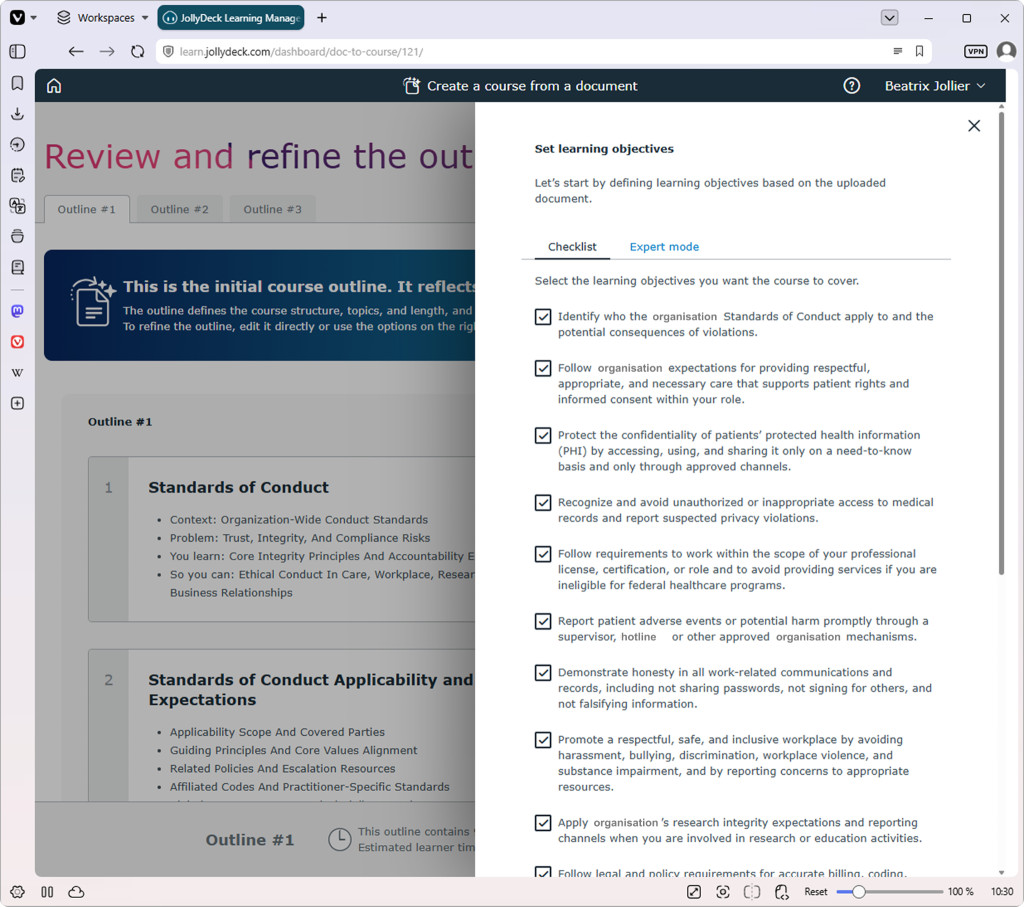
If the generated objectives don’t match what you have in mind, you can switch to Expert mode and enter your own objectives manually, either by typing them directly or pasting them from another source.
One thing to know: an outline version built from selected objectives locks those objectives in. If you want to redefine them, return to the initial version 1 and start the reduction again from there.
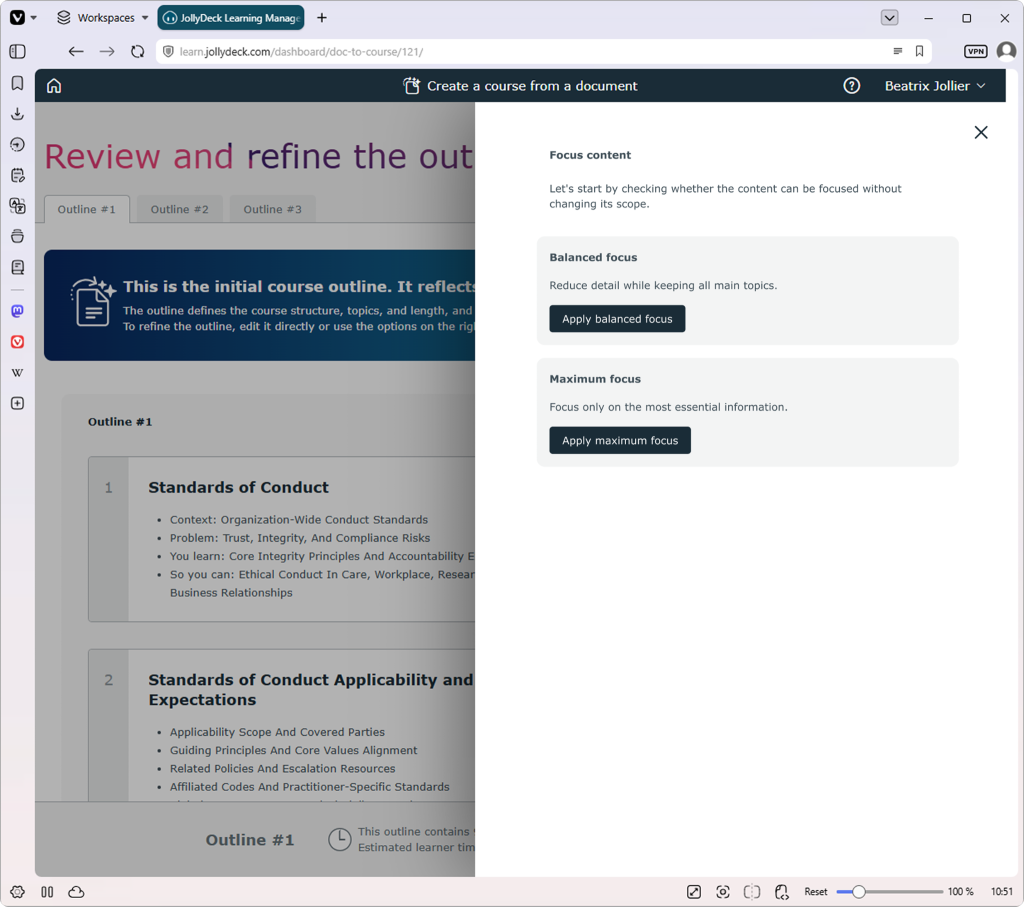
Focus outline
This option condenses the outline by reducing its level of detail.
First, the AI checks the complexity of the source and offers the focus options that fit it. The difference between them is what happens to the scope of the content:
- Balanced focus reduces detail but keeps all the main topics; the course covers the same ground as the source, just more concisely.
- Maximum focus reduces both detail and scope, keeping only the key information from the source.
These options are only available when the source document covers its topic in considerable depth — that’s when converting everything could produce a course that’s very long. With concise sources, there’s nothing meaningful to condense. In that case, the AI invites you to provide custom instructions instead.

Set number of slides
This is the simplest way to control course length without going deep into the content: you select the number of slides you want, and the AI restructures the outline to fit.
There’s a trade-off, though. If you ask the AI to reduce the slide count, it has to leave some information out — and you don’t control exactly what gets removed. If what’s kept matters to you, use custom AI instructions instead.
Add custom AI instructions
This is the best option to use when you want both length control and content control.
You can still set the number of slides, but you also tell the AI what to focus on and what to skip. For example, “Focus on the applicability of standards and reporting, skip the part about values and expectations”, and then set the required number of slides.
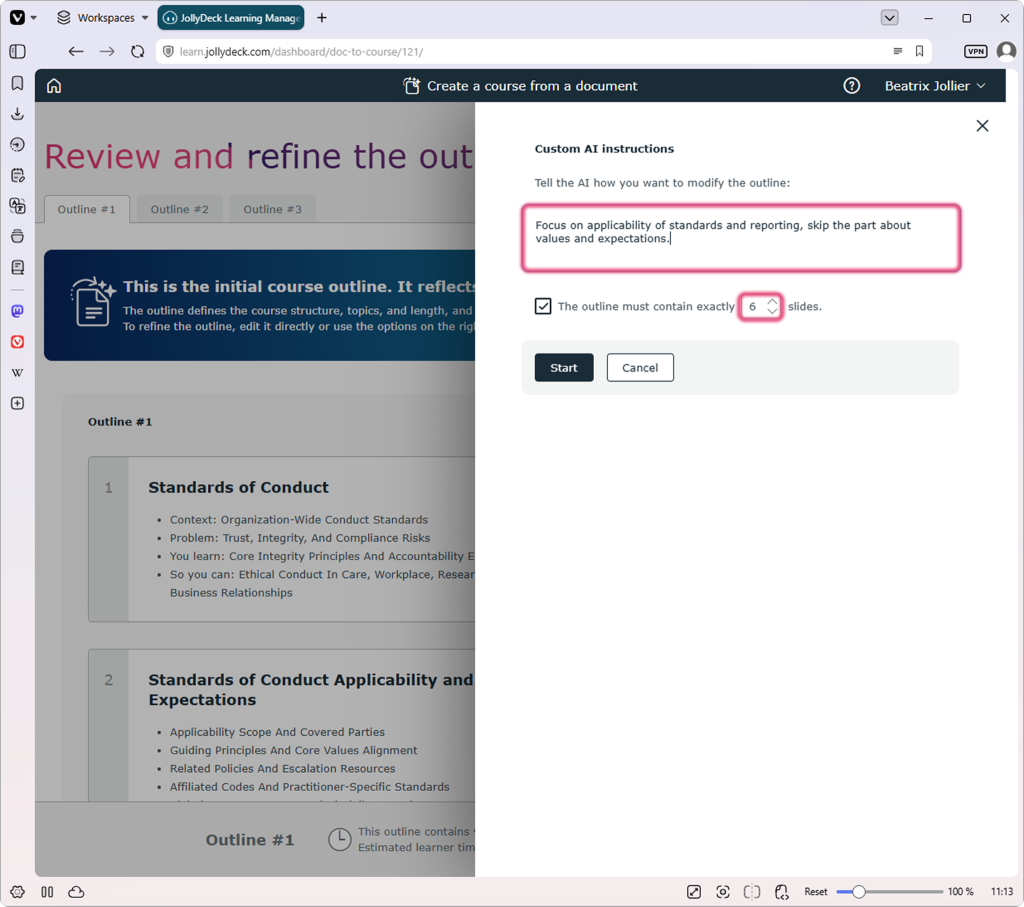
The AI then builds a new outline version that follows your instructions. Of all the AI options, this one gives you the most precise control over what survives the reduction.
Duplicate the outline
This is the one option in the menu that doesn’t use AI. It simply creates a copy of the current outline. It’s useful when you want to edit an outline manually but keep the original version unchanged as a fallback.
Last checks
Before moving to the next step, make sure:
- The learning objectives match your goals
- The course length is appropriate
- Unnecessary content has been removed
- Important topics receive enough attention
- The learning flow makes sense for your audience
Once you’re satisfied with the outline, continue to course generation. The final course will be built from the outline you select.
A final tip
The outline defines the structure of the course and the information it will include — so don’t rush past it. Generate versions, compare them, and only continue when the outline reflects what you actually want your learners to take away. Everything you fix here is work you won’t have to repair later.
Related resources: